What is Umami?
Umami is a self-hosted analytics platform. Like Google Analytics, but privacy preserving and open-source. You can have a look at their website if you're interested and want to learn more.
Self-hosting on Linux
You can self-host Umami to ensure that all analytics data stays under your control. But the Umami developers also provide a cloud solution you can subscribe to if you don't feel comfortable self-hosting.
Prerequisites
Here's a list of the software used in this guide:
- NodeJS + npm
- MariaDB
- HTTPD (Apache2)
- Certbot
Database setup
Enable and start MariaDB:
systemctl enable --now mariadb
Login to your database server:
mysql -uroot -p
Umami needs a database. Create it:
CREATE DATABASE umami CHARACTER SET = 'utf8';
To ensure seperation between your databases, create a user for Umami:
CREATE USER 'umami'@'localhost' IDENTIFIED BY 'asecurepassword';
The user umami now needs permission to use the database umami. You can grant all necessary rights by issuing this command:
GRANT ALL PRIVILEGES ON umami.* TO 'umami'@'localhost';
You've just prepared your database! Exit the SQL shell:
quit;
Installation
Umami uses yarn for package management. We need to install it first:
npm install -g yarn
Let's download Umami's source code and compile it:
cd /opt
git clone https://github.com/umami-software/umami.git
cd ./umami
yarn install
Before finally compiling Umami, create a file called .env with following contents:
DATABASE_URL=mysql://umami:asecurepassword@localhost:3306/umami
Build Umami:
yarn build
Running as a service
You definitely want to run Umami as a service to ensure that it stays running. Follow these steps if your init system is SystemD.
Create a system user and group for Umami to use:
useradd -r -s /bin/bash -U -d /opt/umami umami
chown -R umami:umami /opt/umami
Add umami.service to /etc/systemd/system/:
[Unit]
Description=Umami Analytics
After=network.target mariadb.service

[Service]
User=umami
Group=umami
WorkingDirectory=/opt/umami
ExecStart=/usr/local/bin/yarn run start
Restart=on-failure
ReadWritePaths=/opt/umami

[Install]
WantedBy=multi-user.target
Finally, start and enable Umami:
systemctl daemon-reload
systemctl enable --now umami.service
Reverse proxy
Accessing Umami should happen via a secure connection on a standard port. We need a reverse proxy to archive this.
I'm running Fedora Server, so all website configuration will be saved to /etc/httpd/conf.d/. Your distribution might use /etc/apache2/sites-available/ and sites-enabled/.
First, request a SSL certificate via Certbot:
certbot --apache -d analytics.konstantintutsch.com
Insert this configuration into /etc/httpd/conf.d/umami.conf:
<VirtualHost *:443>
    ServerName analytics.konstantintutsch.com
    ServerAdmin webmaster@konstantintutsch.com

    SSLEngine On
    SSLCertificateFile /etc/letsencrypt/live/analytics.konstantintutsch.com/fullchain.pem
    SSLCertificateKeyFile /etc/letsencrypt/live/analytics.konstantintutsch.com/privkey.pem

    # Security Header
    # Content-Security-Policy: Already configured by Umami

    # Reverse Proxy
    SSLProxyEngine Off
    SSLProxyVerify none
    SSLProxyCheckPeerCN off
    SSLProxyCheckPeerName off
    SSLProxyCheckPeerExpire off
    <Location />
        ProxyPass http://localhost:3000/ retry=0
        ProxyPassReverse http://localhost:3000/
    </Location>
</VirtualHost>

<VirtualHost *:80>
    ServerName analytics.konstantintutsch.com
    Redirect permanent / https://analytics.konstantintutsch.com/
</VirtualHost>
Changing the default login
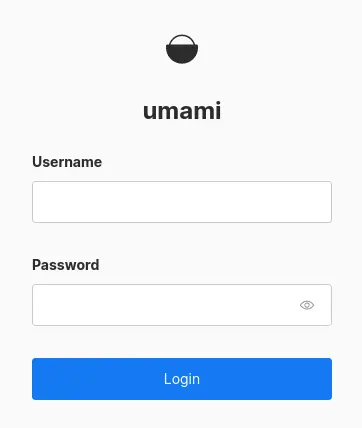
Now that your Umami instance is live, remove the default login. Open a browser and access the instance.
Login with user admin and password umami.
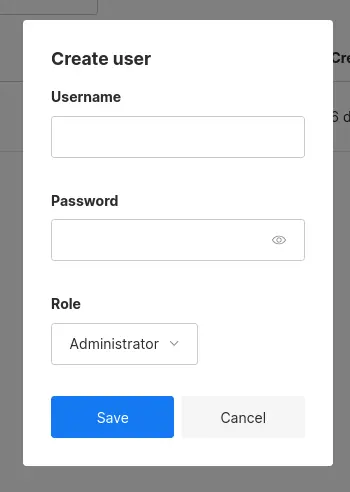
Once you've logged in, go to /settings/users and create a new user. Select Administrator as the role.
You can now logout and login with your new user. Navigate to the same page and delete the user admin.
Umami is setup. That's it!
Backup
All of Umami's data is stored in it's database which means that making a backup is pretty straight forward. We can use mariadb-dump to, well, create a dump of all the data stored in the database.
mariadb-dump -uumami -pasecurepassword umami > umami_backup.sql
Restore
For restoring, redo the installation while following all steps above except for changing the default login. That would be unnecessary work.
Stop Umami and enter the SQL shell:
systemctl stop umami.service
mysql -uroot -p
Delete your Umami database, create an empty one and regrant all rights:
DROP DATABASE umami;
CREATE DATABASE umami CHARACTER SET = 'utf8';
GRANT ALL PRIVILEGES ON umami.* TO 'umami'@'localhost';
Restore from your umami_backup.sql dump:
mysql -uumami -pasecurepassword umami < ./umami_backup.sql
Your Umami instance has been restored. All done!
systemctl start umami.service
Using Umami
Just to get you started as quickly as possible …
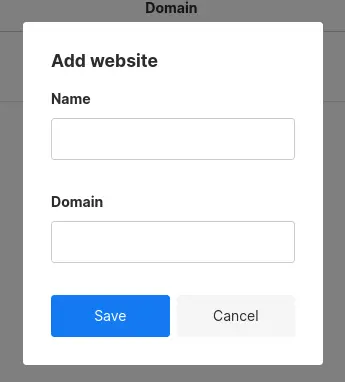
You first need to add the website you want to track to Umami. Navigate to /settings/websites and add your website.
Once you've added your website, click on the Edit button besides it's name. Navigate to the heading Tracking code in Umami's webinterface's tab bar. Add the <script> tag to your website's <head>.

If you also want to track which links, buttons or else are clicked on your website, you can add the data-umami-event attribute to them.
<a data-umami-event="social-github" href="https://github.com/konstantintutsch">GitHub</a>
Finished! 🥳